Last updated November 21, 2026
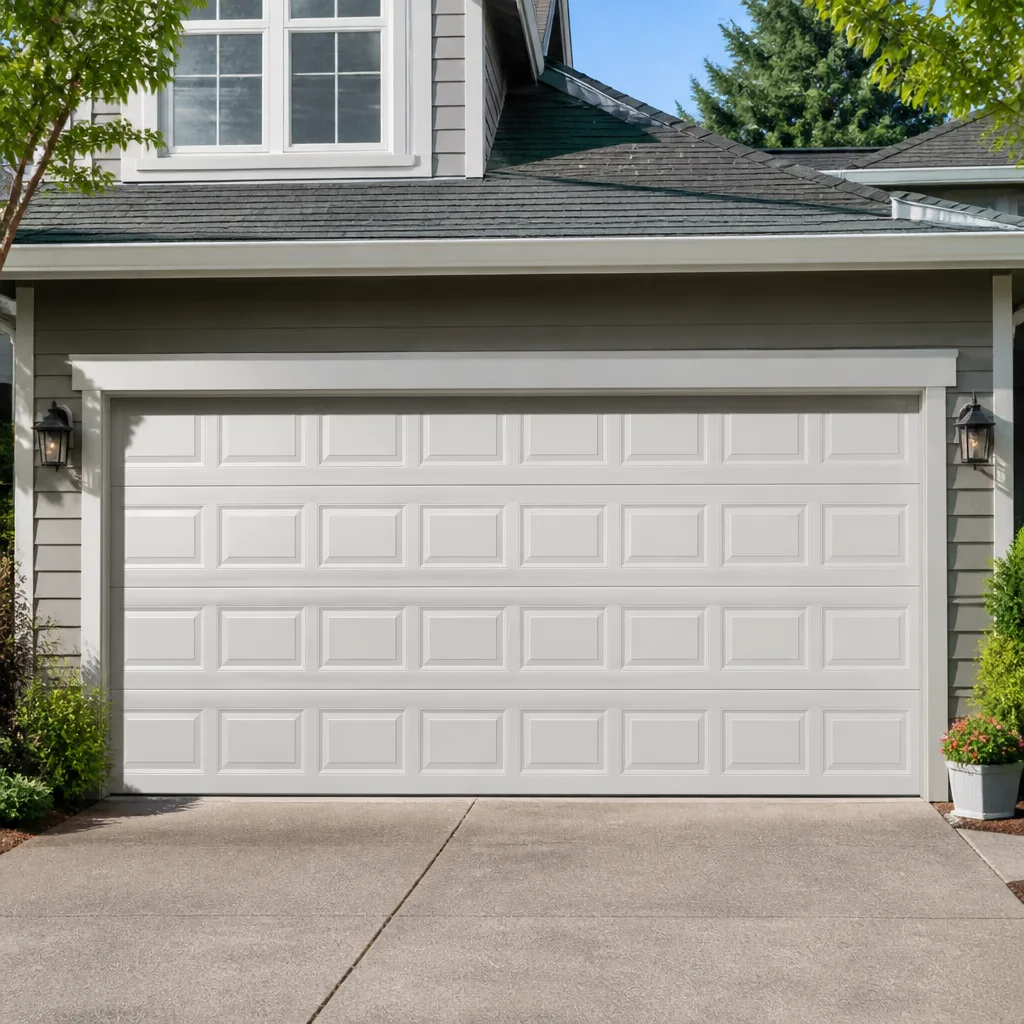 Raised-panel steel
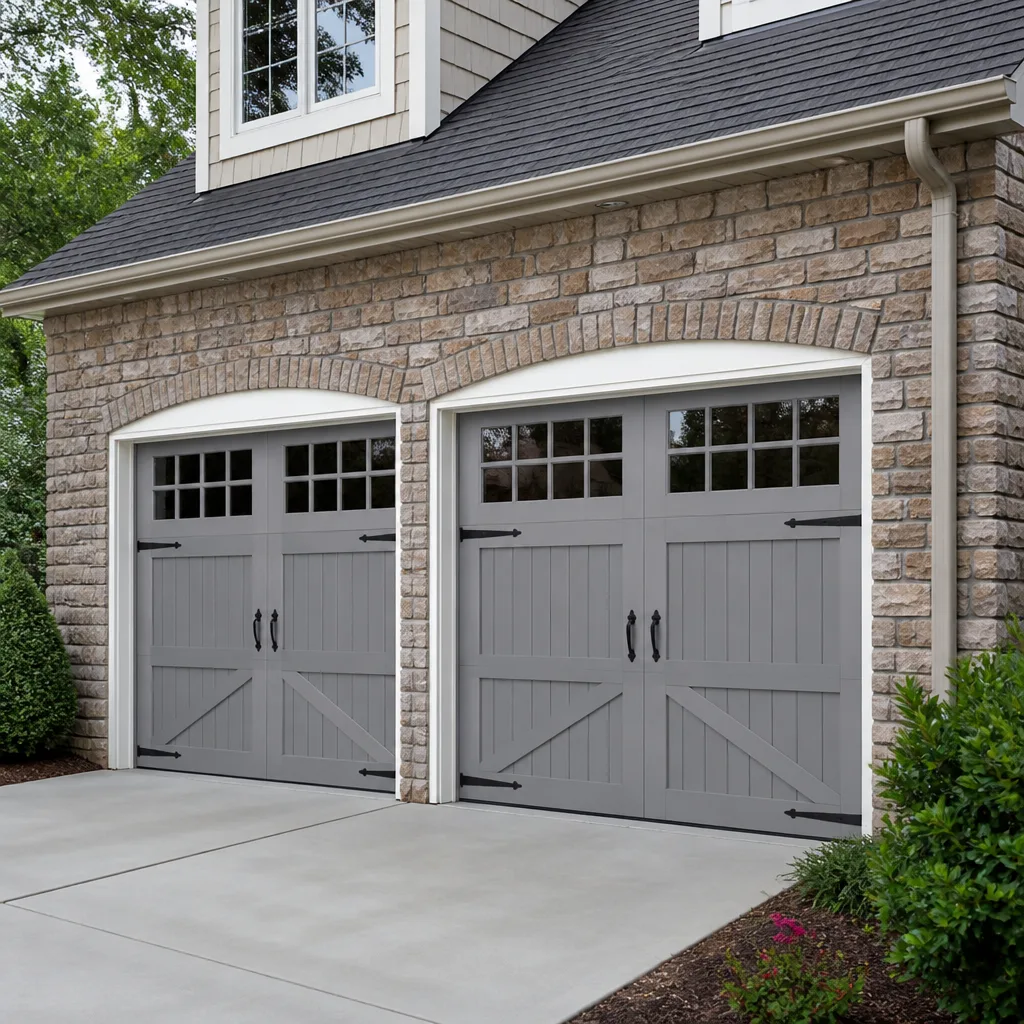 Carriage house
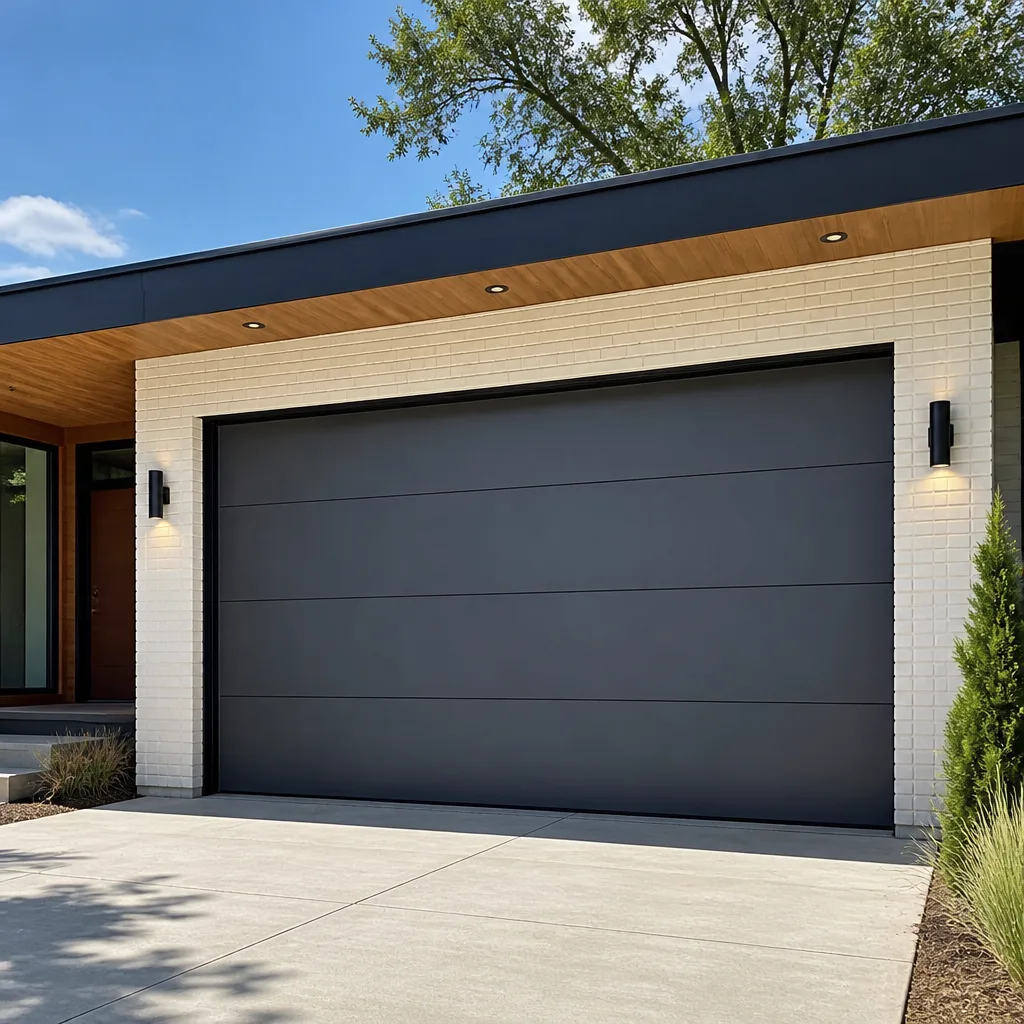 Modern flush
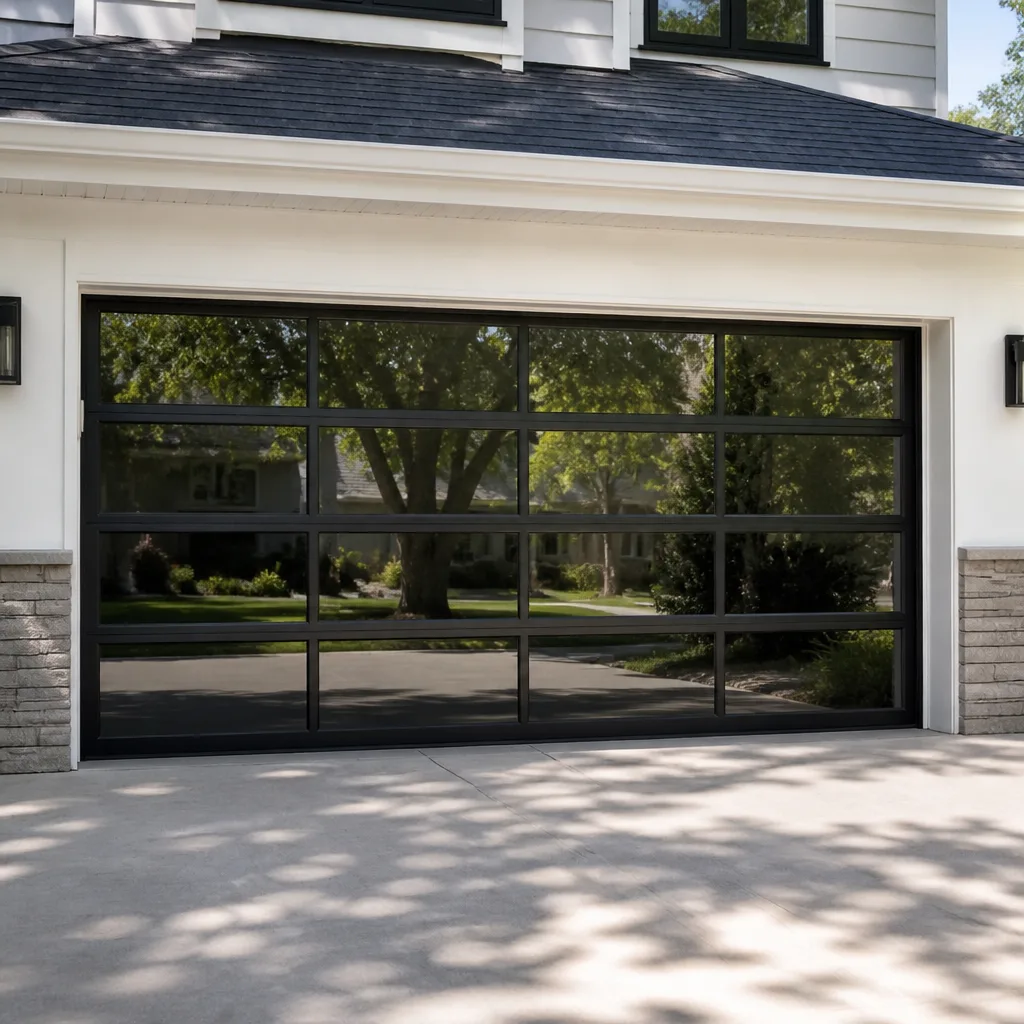 Full-view glass
 LiftMaster openers
 Chamberlain openers
Full 25-point door and opener safety check with every visit - springs, cables, rollers, tracks, and your LiftMaster or Chamberlain opener included
You get a price before we start. It does not change when the pro arrives.
Get your free estimateGarage Door Repair Maintenance Checklist for Sunset Park Homeowners
A loose cable drum rarely snaps on its own. It usually takes the bottom bracket with it, which then bends the track, which then blows the opener’s drive gear. Miss the drum, pay for four repairs instead of one. That’s the thing most checklists get wrong: they group parts by category, so you inspect springs, then cables, then rollers, and you never notice that a failing part upstream is quietly loading stress onto the next one. This guide gives you a checklist sequenced the way a technician actually walks a door at a Sunset Park property – springs first, then cables, drums, rollers, tracks, and opener last, because each item loads the next. You’ll learn what to look at, what to listen for, and the red flags that mean stop and call someone.
Quick Answer
A safe, useful garage door maintenance checklist in Sunset Park follows the load path: inspect springs, then cables, then drums, then rollers, then tracks, then the opener – in that order, because each part stresses the next. Homeowners can safely do visual and auditory checks plus lubrication. Anything involving spring tension, cable re-seating, or drum rewinding requires a technician. Our technicians have up to 8 years of experience, and we can walk you through what a typical door needs over the phone.
Styles & brands we work with
- Raised-panel steel
- Carriage house
- Modern flush
- Full-view glass
- LiftMaster openers
- Chamberlain openers
Table of Contents
- Why Inspection Order Matters More Than the Parts Themselves
- Step 1: Springs – The Visual and Auditory Check
- Step 2: Cables – The Part Springs Quietly Break
- Step 3: Cable Drums and Bottom Brackets
- Step 4: Rollers and Hinges – The Wear Items You Can Lubricate
- Step 5: Tracks, Panels, and Weather Seals
- Step 6: The Opener – Last, Because It Absorbs Everything Above
- Lubrication: What to Use and What Never to Put on Springs
- Waterfront Humidity and Corrosion in Sunset Park
- Red Flags: Monitor for 30-60 Days vs. Call Now
- A Simple Maintenance Rhythm for Sunset Park Doors
Why Inspection Order Matters More Than the Parts Themselves
Every garage door is a system of counterbalanced loads. The springs hold the door’s weight so the opener only has to push. The cables ride from the drums at the top down to the bottom brackets, and they carry whatever the springs don’t. The drums spool those cables. The rollers and hinges guide the door along the tracks. The opener sees the result of all of it. When you check in the wrong order, you see symptoms in the wrong place.
Here’s the practical version. A door that feels heavy is usually a spring problem, not an opener problem. A door that opens crooked is usually a cable problem – one side is slack. A door that grinds at the top is usually a drum. A door that jerks and shudders is usually a roller or hinge. And an opener that grinds its drive gear is usually absorbing all of the above. If you replace the opener before you find the spring, you’ve bought a new opener for a door that will fail the same way.
So the checklist below is a load-path inspection. Springs, cables, drums, rollers, tracks, opener. It takes 15 to 20 minutes with a flashlight, and it’s the same order our technicians use when they arrive at a Sunset Park home. We’re a multi-brand specialist, which matters here because the sequence works on any manufacturer’s system – whether you have a Raynor torsion setup, a LiftMaster screw drive, or an older Craftsman chain unit.
You’ll get the most out of this if you read the whole sequence before you start, then walk the door once. If you find something that worries you mid-walk, stop and call Garage Door Repair Sunset Park rather than continuing – our estimates are free.
Step 1: Springs – The Visual and Auditory Check That’s Safe
Springs are the first item because everything downstream depends on them, and because they’re the part most dangerous to touch. A torsion spring holds hundreds of pounds of tension. Never try to adjust, unwind, or “test” tension by hand, and never use a winding bar unless you’re trained. What you can do safely is look and listen.
Visual check. Look at the springs mounted on the shaft above the door. A healthy torsion spring is a clean helix. A spring that’s failed usually shows a gap – sometimes a visible break where a coil has separated. Check both springs if you have two. A single broken spring means the other one is now carrying the whole door’s load, and it’s usually not far behind. That matters because we recommend replacing a matched pair together rather than one at a time – a single spring repair is typically $180 to $340, while a pair runs roughly double. Replacement gets scheduled rather than rushed, so ask for a written price.
Auditory check. Open and close the door once while standing clear. Listen for a sharp snap from above the door (a break), a rattle that wasn’t there before (loose hardware or a binding coil), or a loud bang that happened earlier and knocked the door heavy (spring failure). A door that feels significantly heavier to lift by hand than usual – if your opener allows manual operation – is another sign.
What’s not safe: don’t try to measure coil gaps by eye at the shaft, don’t reach for the spring, and don’t spray anything on it until you’ve read the lubrication section. Springs are the number-one reason garage door repairs end up in a hospital visit, and our spring repair service exists as a named specialty because it’s the one most mishandled by general handymen.
If the visual or auditory check fails, stop the walk and call. Don’t keep going – a door on one spring is a door that can drop the opener and bounce.
Step 2: Cables – The Part Springs Quietly Break
Cables are second because they’re the load bridge between the springs and the door. When a spring breaks, the cable on that side often goes slack and jumps its drum. When a drum corrodes, the cable frays against the edge. When a bottom bracket loosens, the cable pulls unevenly. You’re looking for fraying, slack, or a cable that’s off the drum entirely.
Run this check with the door down and the opener disconnected (most openers have a red release cord on the rail – pull it so the door is on manual, then close it fully by hand). Standing to the side of the door, not under it, look at each cable where it runs from the bottom bracket up to the drum. Look for:
- Frayed strands or a fuzzy cable surface – replace it, don’t tighten it
- A cable that’s visibly slack on one side – usually means the drum or spring above it has shifted
- A cable that’s jumped off the drum groove and is riding against the drum edge
- Sharp kinks or a “birdcage” unwind at the bottom bracket
- Rust staining on the cable jacket or at the crimp – corrosion weakening the wire
Do not re-seat a cable on the drum yourself. The cable is under tension the moment the door is anywhere but fully down, and it can snap upward with enough force to break a wrist. A cable that’s off the drum is a same-day service item in our book. Call garage door repair rather than running the opener again – an opener running against a slack cable will drag the door off track.
In Sunset Park, where a lot of homes sit close to the waterfront and the air stays humid, cables are often the first part to corrode from the inside. If you see rust at the crimp, treat it as a replace-now item even if it still looks tight.
Step 3: Cable Drums and Bottom Brackets
Cable drums sit on the same shaft as the springs, at each end, and they spool the cables. The bottom bracket is the metal piece at the corner of the bottom panel where the cable attaches. These two parts are checked together because they fail as a pair – a loose drum lets the cable shift, which loads the bracket, which bends the track above it. This is the chain reaction that makes a $180 spring repair into a $600 repair if you miss the first sign.
What to check on the drums. With the door down and the opener released, look at the drum from the side. The set screw holding the drum to the shaft should be tight with no wobble. The grooves should be clean and the cable should sit fully inside one groove, not riding the rim. A drum that’s cocked at an angle or has a sheared set screw means the cable tension is uneven and the door is fighting itself. Don’t touch it – drums are dangerous to reposition because the spring load is right there. Call a technician for drum and bracket work.
What to check on the bottom brackets. The brackets at the bottom corners should be flat against the door panel, with the cable end secured inside the bracket’s slot. Look for bent bracket flanges, loose bolts, or a bracket that’s pulled away from the panel. A twisted bottom bracket means the cable is loading the door unevenly, which is how tracks get bent at the bottom.
If you have a LiftMaster or Chamberlain opener that has started reversing or hitting a limit mid-travel, check the drums before you blame the opener. In our experience, a drum that’s off by a few degrees will trip the opener’s safety reverse on the way down and look exactly like an opener sensor fault.
Step 4: Rollers and Hinges – The Wear Items You Can Lubricate
Rollers and hinges are where a homeowner can actually do useful work. These are the moving contacts between the door and the track, they wear steadily, and they respond well to lubrication. This is also where a lot of Sunset Park doors get loud before they fail – a squeal on the way up is usually a dry roller, not a dying opener.
With the door down and released, look at each roller where it sits in the track. A healthy roller spins freely by hand and has a smooth, round appearance. Warning signs:
- Rollers with a flat spot or a “wobble” when you spin them by hand – replace soon
- Nylon rollers that are cracked, chipped, or gray and brittle
- Steel rollers with visible rust or sealed bearings that no longer spin
- Hinges that are loose at the panel, bent, or missing a bolt
- Hinges that creak or grind rather than swing quietly
Hinges and rollers are the one part of the system you can lubricate yourself. Use a light lithium grease or a silicone-based lubricant on the roller bearings and hinge pivot points. Wipe off excess. Do not use penetrating oil meant for freeing rusted bolts on roller shafts – it attracts dust and turns into a gritty paste. For a full lubrication plan, see the section below.
Rollers and hinges are also where you’ll notice track damage early. If a roller is popping out of the track seam, the track has a slight bend that has to be straightened before a new roller goes in. A technician can straighten a minor bend; a badly creased track gets replaced. If you’re not sure which you have, our team can look at it during a free estimate – call garage door opener repair if the opener side is also misbehaving, since a bent track often throws the opener’s limit settings.
Step 5: Tracks, Panels, and Weather Seals
Tracks look simple and aren’t. They’re the guide rail for the door, and they’re the part most often bent by a bump, a car mirror, or a door that’s been forced past its travel limits. Check both sides, from the floor to the curve.
Track checks:
- Stand back and sight down each track. It should look like a straight line. A track with a visible kink at the curve or a pinched seam at the joint is a track that will force every roller past a bump until the rollers wear out.
- Check that the track is plumb against the door edge – a track that’s drifted from the wall shows a gap between the track and the door’s roller shafts.
- Check the bolts holding the track brackets to the wall and ceiling. A loose bracket lets the track move during the cycle, which feels like a shudder.
- Look for loose screws where the vertical track meets the curved track at the top. Those two pieces are usually joined by a plate that loosens with vibration.
Panel and seal checks: Look for dented or cracked panels, loose sections at the hinge line, and a weather seal at the floor that’s flattened or torn. In Sunset Park, a bottom seal that’s dried out or cracked lets in humidity and lets cold air into the garage, which is more a comfort and rust issue than a structural one – but a torn seal also lets grit onto the rollers. Check the seal by closing the door on a piece of paper and pulling: if the paper slides easily, the seal has lost contact with the floor. A seal replacement is straightforward scheduled work, not an emergency.
If a track is bent in more than one place, or a panel is separating from the hinge line, that’s a technician call. If your door is on its last legs from panel damage, a new door is often the better route – see our garage door installation page for what that involves and what it costs.
Step 6: The Opener – Last, Because It Absorbs Everything Above
The opener is checked last on purpose. If you check it first, you’ll misdiagnose every problem on this list. An opener that struggles, reverses, or grinds is usually reporting a problem in the load path above it – not a problem in itself. Once you’ve cleared springs, cables, drums, rollers, and tracks, whatever the opener is doing is probably the opener.
Run these checks with the door on manual first, then re-engage the opener:
- Balance test: raise the door halfway by hand and let go. A balanced door stays where you leave it. A door that drops means the springs are losing tension – that’s a spring call, not an opener call.
- Safety reverse test: with the door closing, place a piece of wood flat on the floor. The door should reverse on contact. If it doesn’t, this needs attention before anyone uses the door.
- Photo-eye test: close the door and pass an object through the safety beam at the bottom of the tracks. The door should reverse. Wipe the photo-eye lenses if the beam is blocked, and check the alignment – they should point at each other.
- Wall button and remotes: test each remote and the wall button separately. If one works and the other doesn’t, it’s a remote battery or pairing issue, not an opener issue.
- Listen for grinding or slipping from the opener head. A drive gear grinding is usually the opener absorbing a door that’s been heavy for a while – see the springs above before you replace the opener.
We service Raynor, LiftMaster, Chamberlain, Genie, and four more major brands, so brand-specific calibration is something we do routinely. If your opener is a Genie or an older Craftsman and the door keeps reversing on its own, that’s a common pattern we can diagnose. Call garage door opener repair if the test results in a reversing door with clean photo-eyes.
Lubrication: What to Use and What Never to Put on Springs
Lubrication is where homeowners get the most confident and do the most damage. The mistake we see most often: WD-40 sprayed on the torsion springs and the shaft. WD-40 is a light penetrating oil with a solvent base. Applied to a torsion spring, it strips away the manufacturer’s factory-applied coating and leaves bare steel in a Sunset Park garage, where humid air gets to it. The spring then rusts along the coil and fails earlier than it should. If you’ve used WD-40 on the springs already, don’t panic – but do make sure the spring gets a proper lubricant from now on, or call a technician if it’s already showing rust.
Here’s the correct lubrication plan, by part:
- Rollers and hinges: a few drops of light machine oil or a silicone spray on the hinge pivot points and roller bearings. Wipe off excess.
- Springs: a dry-film lubricant or a proper garage door spring lubricant – a spray that dries to a thin film without attracting dust. Apply sparingly. If it looks wet and dripping, it’s too much.
- Tracks: don’t lubricate the tracks themselves. Dust and grit stick to track oil and grind against the rollers. Keep tracks clean and dry instead.
- Opener chain or belt: follow the manufacturer’s guide. Chains usually take a light chain lubricant; belts generally don’t need lubrication. A squealing belt is a wear sign, not a lubrication call.
- Weather seals: a silicone spray on the bottom seal keeps it pliable, but don’t put oil or grease on it.
Lubricate twice a year – once in spring and once in fall – and any time the door gets loud. If you’re unsure about a specific part, our team can show you at the estimate. Call (855) 709-6141 for a free estimate, and we’ll tell you whether it’s a DIY lubrication job or a part replacement.
Waterfront Humidity and Corrosion in Sunset Park
Sunset Park’s position near the water and its mix of older rowhouses and post-war brick buildings mean garages here face humidity more than most inland neighborhoods. This isn’t about salt air – it’s about the steady moisture in the air, the condensation that forms on cold steel when the temperature swings, and the way a garage with a failing bottom seal traps damp air inside. The parts that suffer first are the ones that see the most moisture: cables, bottom brackets, the bottom panel, and the spring coils.
A few specific things to look for on a Sunset Park door:
- Cable crimps and swages: surface rust at the crimp on the bottom of the cable is an early warning. It looks like a small rusty band. Replace the cable when you see it.
- Bottom brackets and the bottom panel: the bottom 12 inches of a steel door picks up moisture from a wet floor, especially in a garage that slopes toward the street. Paint or prime a rusting bottom panel before it rots through.
- Spring coating: factory-coated springs can blister if the garage stays damp. If the coating is peeling, the spring is exposed steel and needs proper lubricant or replacement.
- Hinge plates and bolts: surface rust on hinges is common and usually cosmetic if the hinge still swings freely, but a hinge that’s seized to its pivot is a wear item.
- Photo-eye brackets: rust at the bracket isn’t a door problem, but it’s common near a damp garage floor and worth wiping clean.
If your garage floor drains toward the door and the door’s bottom seal is compressed, water can pool at the threshold and wick up into the bottom panel. That’s a good reason to inspect the bottom seal more often than the rest of the door. If you’re seeing moisture inside the garage generally, the door isn’t the cause, but the door’s hardware often pays for it.
Anything with visible rust on a cable, a bottom bracket, or a spring coil is a same-week call in our experience – it doesn’t fix itself. Our Garage Door Repair Sunset Park team handles corrosion-related repairs as a standard part of the job.
Red Flags: Monitor for 30-60 Days vs. Call Now
Not every finding is an emergency. The trick is separating the “keep an eye on it” items from the “don’t run the door again” items. Here’s our working list.
Call now – don’t run the door:
- A visible break or gap in a torsion spring, or a door that’s suddenly very heavy
- A cable that’s jumped its drum or is slack on one side
- A bottom bracket that’s bent, pulled away, or missing a cable end
- The door is crooked in the opening or off the track on one side
- The opener runs but the door doesn’t move, or the door reverses on its own with clean photo-eyes
- You hear a loud bang from the garage followed by a door that won’t open
Monitor for 30-60 days:
- Squeaky hinges or dry roller bearings (lubricate now, watch for noise return)
- Surface rust on a hinge plate or on the bottom panel paint
- A bottom seal that’s dried out but still making contact with the floor
- A single remote that’s slow to respond (replace the battery first)
- Cosmetic dents in a panel with no hinge separation
- A weather seal that’s torn at one corner but sealing the rest of the way
If you’re not sure which list a finding belongs on, call us. Our garage door repair estimates are free, and we’ll tell you honestly whether it’s a monitor item or a fix-it-now item.
A Simple Maintenance Rhythm for Sunset Park Doors
The full 6-step inspection doesn’t need to happen every month. A rhythm that matches how these parts actually wear is easier to keep and catches problems earlier than a panicked call.
- Monthly (5 minutes): visual check of springs, a quick listen on the way up and down, and a functional test of the safety reverse and photo-eyes.
- Every 3 months: a full 6-step walk of the door, plus a check of the cables at the drums and bottom brackets.
- Twice a year (spring and fall): full lubrication of rollers, hinges, and springs with the right products.
- After any unusual event: a bump with the car, a hard wind event, or a door that suddenly feels heavier or louder gets a full inspection that day.
- Before winter: a bottom-seal check and a cable condition check, since damp winter air is when corrosion is most likely to accelerate in a Sunset Park garage.
Keep a small note on the wall or in a phone app of what you lubed and when. You don’t need a formal log; even a line like “lubed rollers, springs, next in spring” pays for itself.
Common Mistakes to Avoid
- Checking the opener first. It’s the loudest symptom and the least likely cause. Every other check on this list exists to rule out the load path before you spend money on an opener.
- Lubricating the springs with WD-40. It strips the factory coating and invites rust in a Sunset Park garage. Use a dry-film spring lubricant, and only in moderation.
- Lubricating the tracks. Oil on the tracks collects grit and grinds against rollers. Keep them clean and dry.
- Replacing one spring of a matched pair. The other spring is often at the end of its life and will fail shortly. A pair costs roughly double a single spring, and replacing both at once saves a second service call.
- Running the door after a cable has jumped the drum. Every cycle lets the door load unevenly and bends the track or damages the opener. Stop using the door and call.
- Ignoring a bottom seal on a floor that drains toward the door. Moisture wicks up into the bottom panel and the brackets. It’s a cheap fix now and an expensive one later.
- Tightening track bolts by feel. A track that’s plumb but overtightened against the wall can pull out of the header anchors. If the track is visibly bent or the brackets are loose, have a technician set it.
See the difference
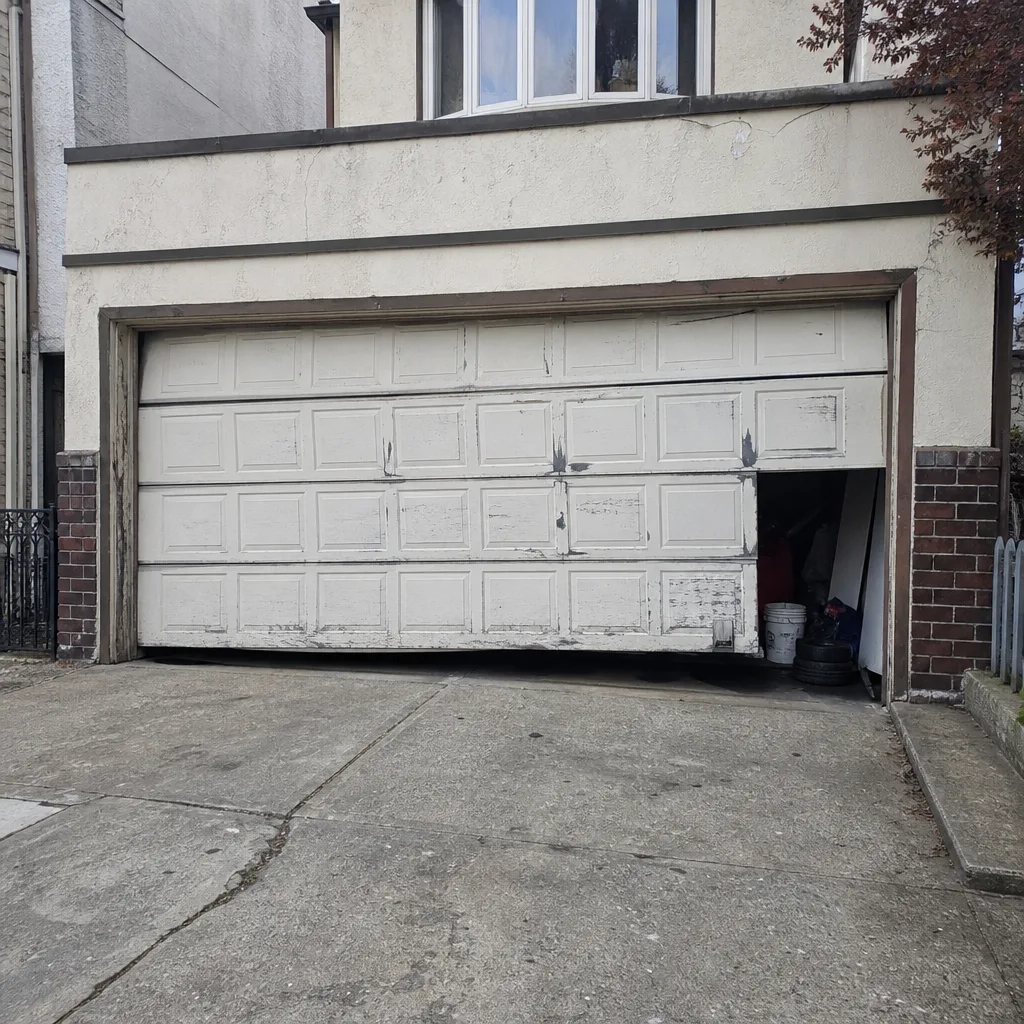 Before
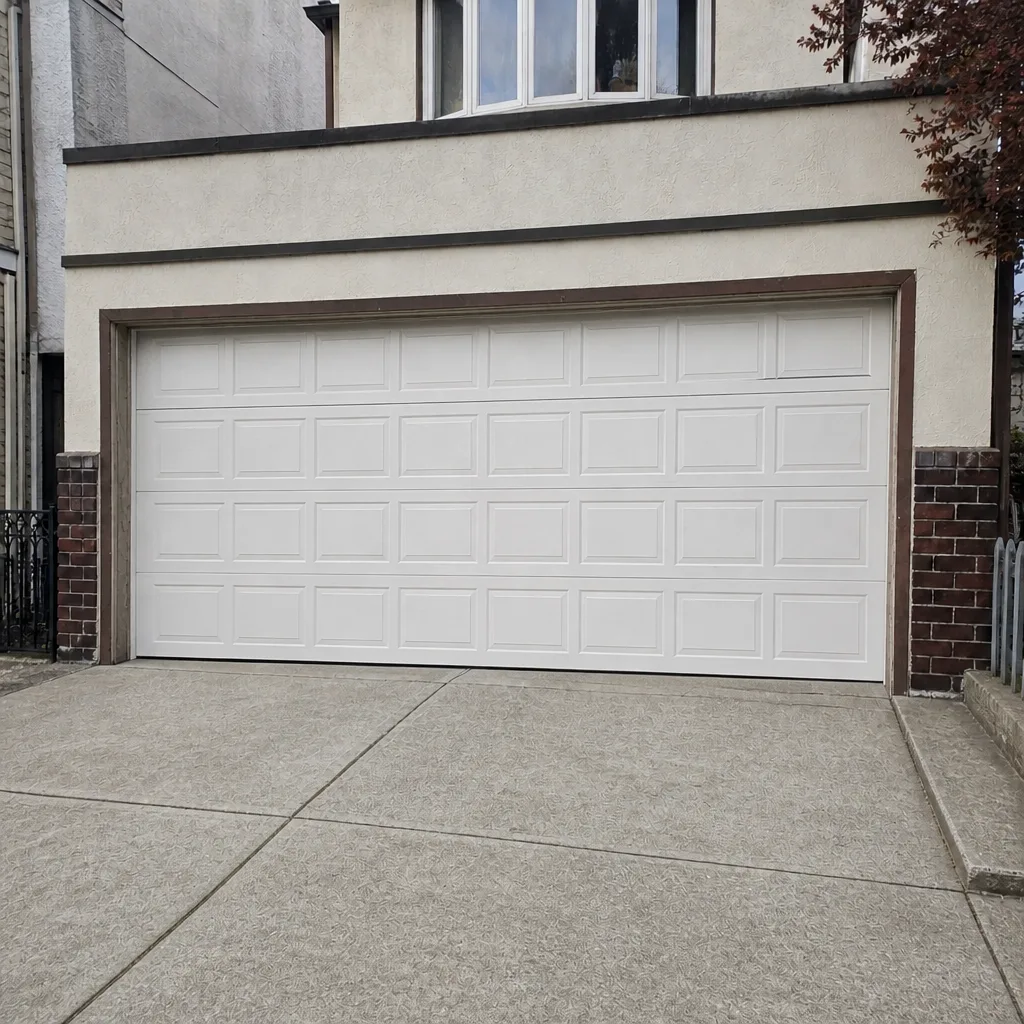 After
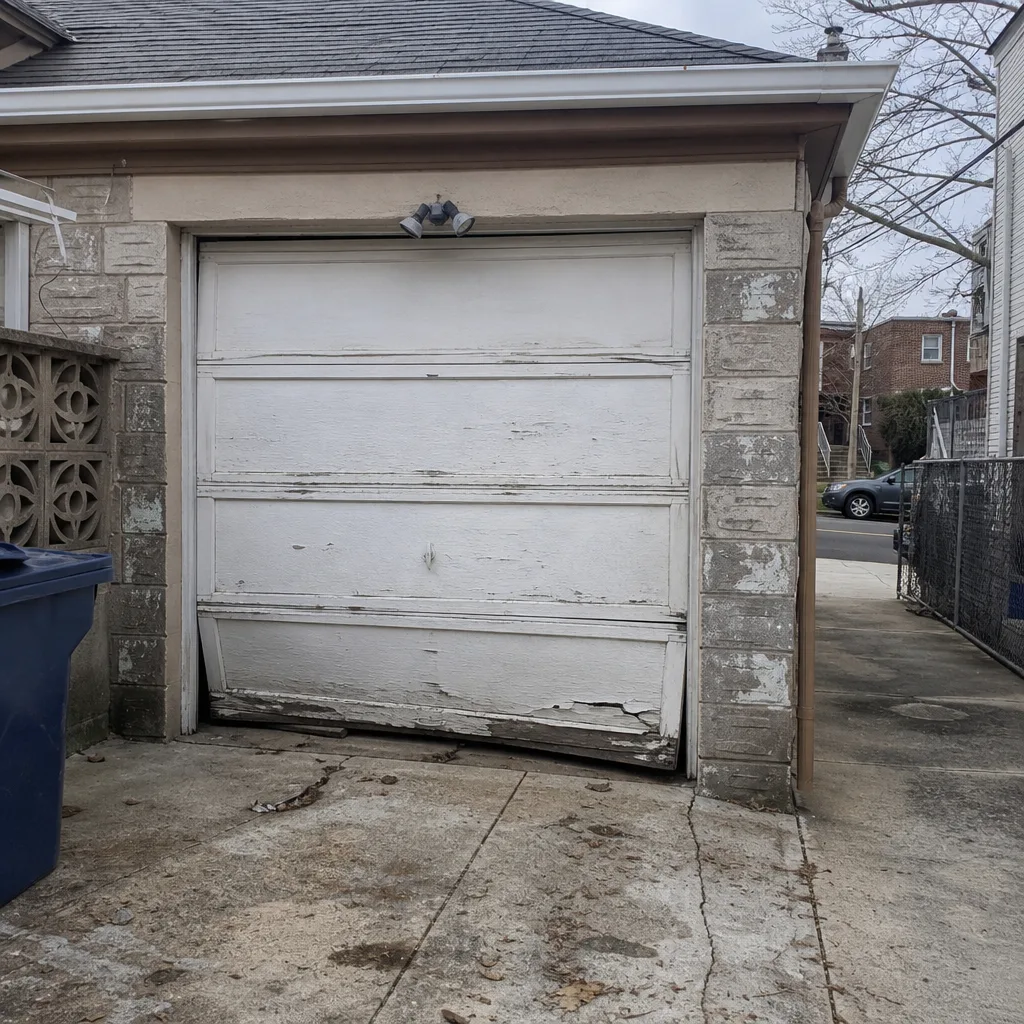 Before
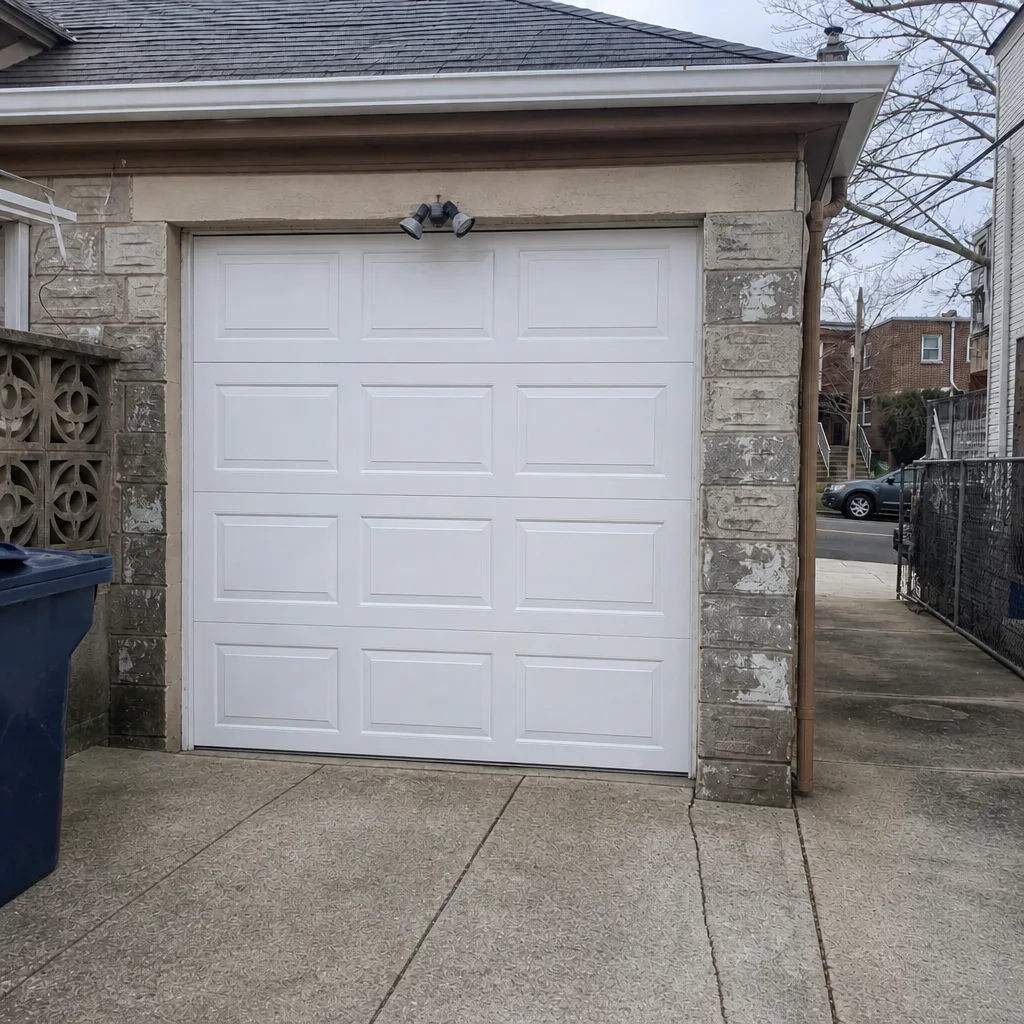 After
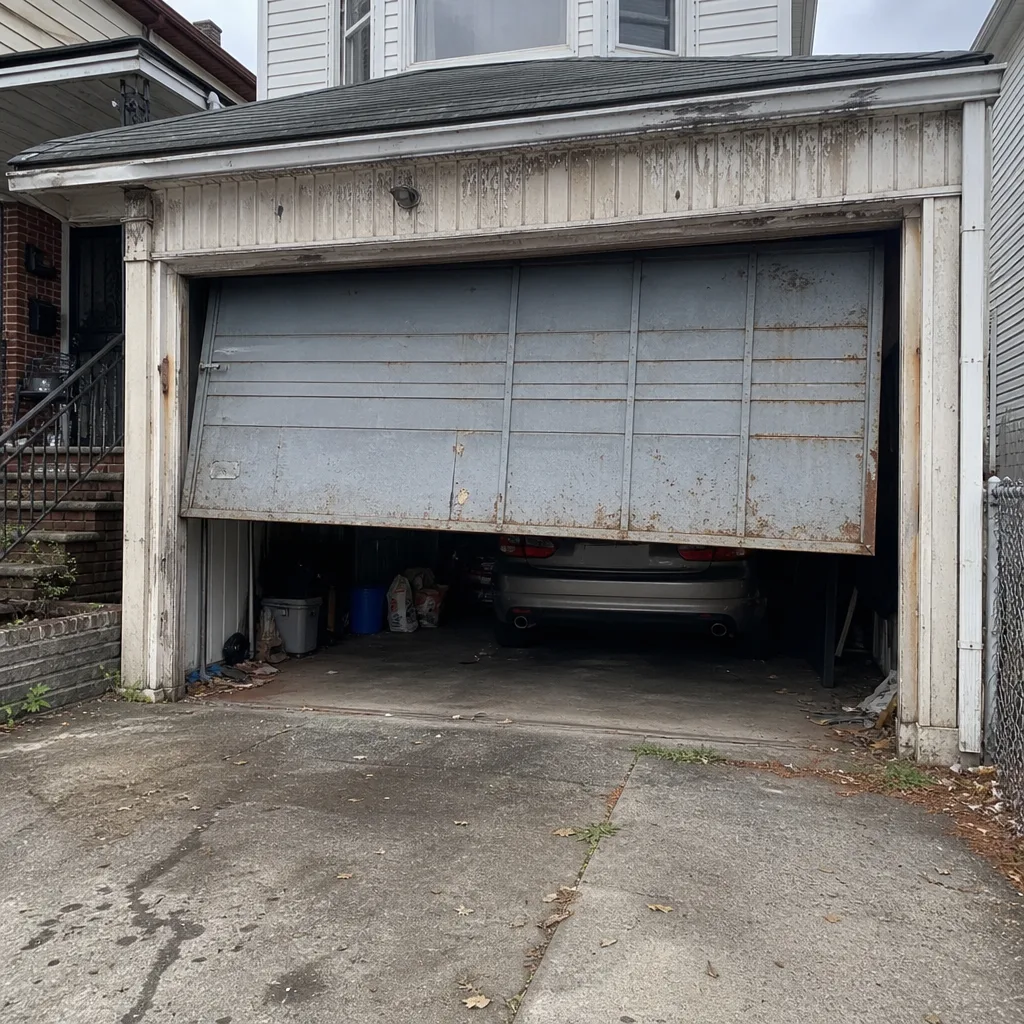 Before
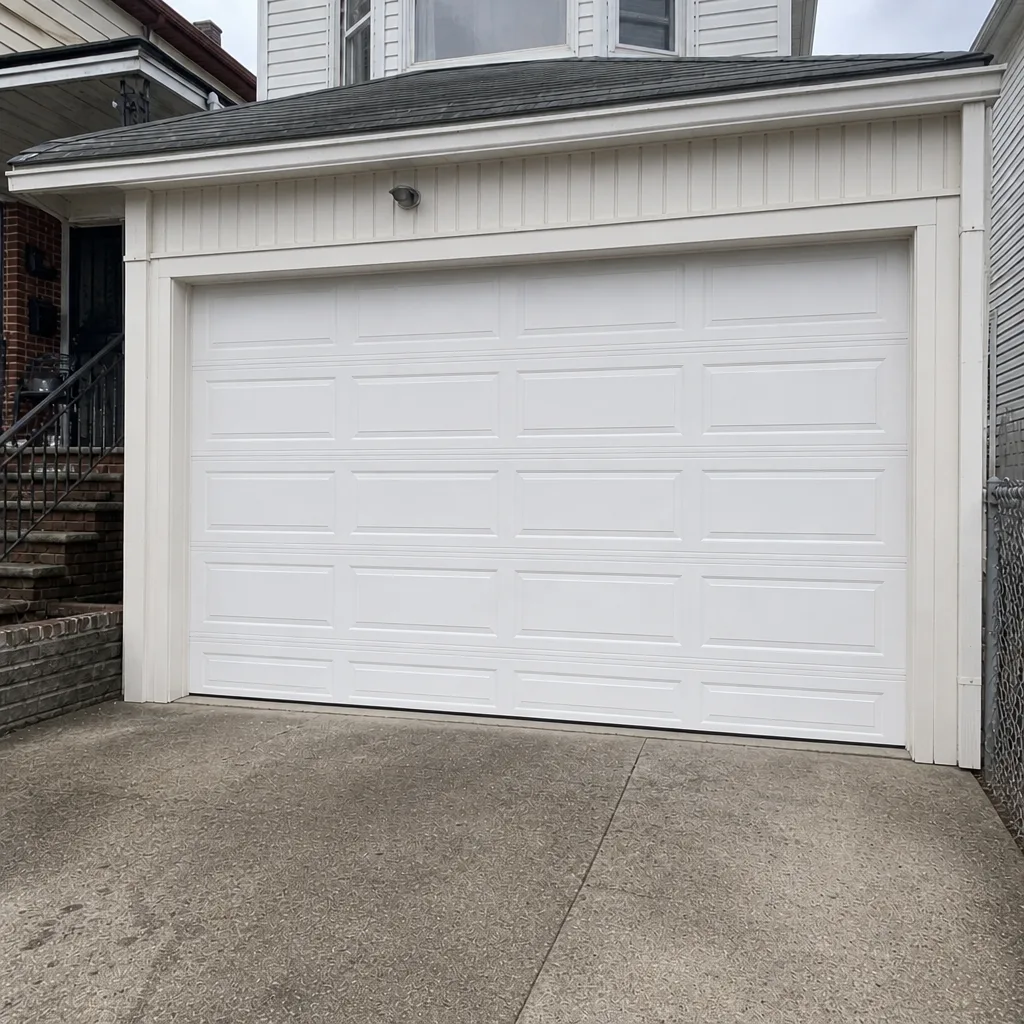 After
When to Call a Professional
Springs, cables, drums, and anything involving the bottom bracket are professional work. That’s not caution for its own sake; the torsion system holds hundreds of pounds and the failure mode is a part flying under load. Rollers, hinges, and lubrication are reasonable DIY items for a careful homeowner. A bent track, a panel separating at the hinge line, an opener reversing on clean photo-eyes, or a door that’s off the track in the opening are all technician calls.
Garage Door Repair Sunset Park offers free estimates in Sunset Park – call (855) 709-6141. We service LiftMaster, Chamberlain, Genie, Clopay, Amarr, Wayne Dalton, Craftsman, and Raynor, so brand calibration is part of the visit, not a separate call. Emergency service is one of our core offerings, not an add-on. If a door is stuck open at night or a spring has gone, call and we’ll set up a visit. Our technicians have up to 8 years of experience.
Frequently Asked Questions
A full 6-step inspection works well on a quarterly rhythm – every three months – plus a quick monthly visual check and a functional test of the safety reverse. Lubrication on rollers, hinges, and springs should happen twice a year, in spring and fall. In a damp garage near the waterfront, we’d add a bottom-seal and cable check before winter, since that’s when corrosion accelerates. If the door gets loud or heavy between checks, do the full walk immediately rather than waiting for the next scheduled date.
Yes, but only by looking and listening – never by touching the spring or the winding shaft. Look for a visible gap or break in the coil, and listen for a sharp snap or a rattle during a single open-and-close cycle. A door that feels suddenly much heavier to lift by hand is another safe sign. If you see or hear any of those, stop using the door and call a technician. Our spring repair service exists as a named specialty because this is the most dangerous part of the door to handle without training.
Use a dry-film or dedicated garage door spring lubricant on the springs, and light machine oil or silicone spray on roller bearings and hinge pivots. Avoid WD-40 or any light penetrating oil on the springs – it strips the factory coating and invites rust in Sunset Park’s humid air. Don’t lubricate the tracks at all; keep them clean and dry. If you’re not sure a product is right, ask us at the estimate.
A single spring repair typically runs $180 to $340, and a matched pair is usually replaced together for roughly double that. The final price comes from the written estimate you get before work starts, and our estimates are free. Call (855) 709-6141 for an exact quote, and we’ll confirm whether one spring or a pair is the right call for your door.
No – the written estimate is the price. We quote the job and agree on it with you before any work starts. If we find a related problem during the work, we stop and tell you what it would add before doing it. There’s no surprise invoice after the fact. Call (855) 709-6141 to get the estimate started – it’s free.
The local pro who comes to your home is licensed and insured as the state requires. We work with independent local professionals who handle spring, cable, drum, roller, track, and opener work on all eight of the major brands we service. If you want to confirm the credentials for a specific visit, ask when you call (855) 709-6141 – we’ll give you the details before the appointment is booked.
Often, yes. Most four-part repairs we see start with a single worn part that was visible for weeks or months before it failed – a drum with a loose set screw, a cable with rust at the crimp, a roller with a flat spot. Catching any one of those early usually means a single repair instead of a stack of them. The full 6-step inspection is the cheapest insurance a door has.
Usually a door problem. Check the photo-eye lenses for dirt or misalignment first, then check for a binding drum or a slack cable that’s making the door heavier on one side. If both photo-eyes are clean and aligned and the door still reverses, that’s time to call garage door opener repair. A door that binds on its way down will trip an opener’s safety reverse every time, and replacing the opener won’t fix it.
The Bottom Line
The sequence is what makes a maintenance checklist work: springs, then cables, then drums, then rollers, then tracks, then opener. Each part in that order loads the next, so a problem caught upstream prevents two or three downstream repairs. A safe visual and auditory check, the right lubricant on rollers and springs (never WD-40), and a quarterly full walk of the door are the three habits that carry most of the value. In Sunset Park’s humid garages, add a cable, bracket, and bottom-seal check before winter. Call (855) 709-6141 for a free estimate on any finding that worries you – our estimates are free and our written quote is the price.
Written by the team at Garage Door Repair Sunset Park.